

Introduction:
In the world of modern application development and secure user authentication, Single Sign-On (SSO) is a game-changer. It streamlines user access across multiple services while maintaining robust security. In this Medium article, we’ll explore how to set up Kong’s SAML Plugin with Salesforce as your Identity Provider (IdP) to achieve seamless SSO in your application ecosystem.
Prerequisites:
- Kong API Gateway Enterprise edition installed and configured.
Note: Ensure you have added “nginx_http_client_body_buffer_size: 500k” in env section to kong.conf for standalone and both cp and dp values file for hybrid mode.
- Salesforce account with administrative privileges.
Step 1: Expose Kong httpbin upstream service.
In this example, we’ll use httpbin.org and create a service and route for it with the “/demo” path. Here are the steps to expose the Kong HTTPBin upstream service.
Create a service:
curl --request PUT \
  --url http://localhost:8001/services/httpbin \
  --data url=https://httpbin.org/anything -H 'Kong-Admin-Token:password'
Create a route:
curl --request PUT \
  --url http://localhost:8001/services/httpbin/routes/httpbin-route \
  --data paths=/demo -H 'Kong-Admin-Token:password'
Create an anonymous consumer:
When integrating Kong’s SAML Plugin with Salesforce as an Identity Provider and exposing an upstream service, it’s often helpful to have an anonymous consumer for testing. An anonymous consumer allows unauthenticated access to specific routes or services. Here’s how to create one.
curl --request PUT \
  --url http://localhost:8001/consumers/anonymous -H 'Kong-Admin-Token:password'
Step 2: Configure Salesforce as an Identity Provider.
Salesforce can act as an Identity Provider (IdP) for Single Sign-On (SSO) using the Security Assertion Markup Language (SAML) protocol. This allows users to log in to other services through their Salesforce credentials. Here’s how to set it up.
For detailed instructions on how to set up Salesforce as an Identity Provider, refer to the official Salesforce documentation here.
Enable Identity Provider:
- Log in to your Salesforce account, Then Navigate to “Setup” and search for “Identity Provider” in the Quick Find box, then select Identity Provider.
- Click Enable Identity Provider.
- Select a certificate from the drop down menu. and Save your changes.
- click Download Certificate. This certificate will be used in the Kong SAML plugin configuration as the Identity Provider (IdP) certificate.
Integrate Service Providers as SAML-Enabled Connected Apps:
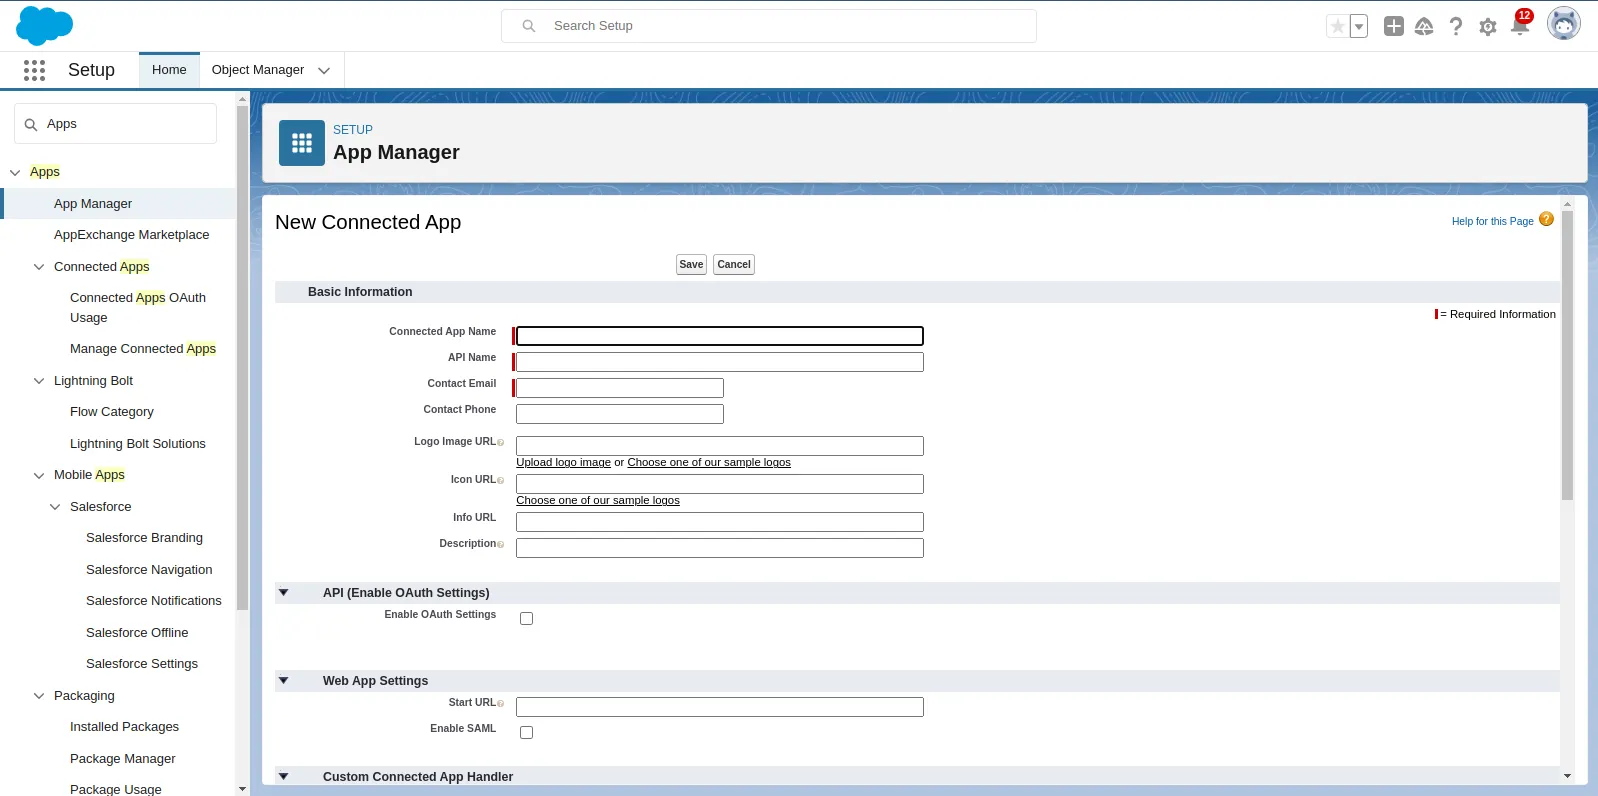
Next, In the Setup page, use the Quick Find box and search for “Apps” Click on “App Manager” and then “New Connected App”.

- Fill in the basic information for your Connected App.
- Connected App Name: Give it a descriptive name.
- API Name: An API name will be auto-generated.
- Contact Email: Enter the contact email address.
2. Enable SAML.
- Scroll down to the “API (Enable OAuth Settings)” section.
- Check the “Enable SAML” checkbox to enable SAML for this Connected App.
3. Configure the SAML settings for Kong Service Provider (SP)
- Entity Id:
http://localhost:8000/demo(This is a unique identifier for your SP). - ACS URL:
http://localhost:8000/demo/consume
The SP’s endpoint where SAML assertions will be sent. Provide the ACS (Assertion Consumer Service) URL provided by the SP.
- Subject Type: Choose the subject type based on your SP’s requirements (e.g., Username, Federation ID).
- Name ID Format: Select the format for the Name ID.
4. Create Users in desired profiles and assign profiles to access connected APP.
- Navigate to Setup page, use the Quick Find box and search for “Users” in the Quick Find box, then select Users and then “New User” and Fill in User Details.

- Once User creation done, Navigate to Setup page, use the Quick Find box and search for “Apps” in the Quick Find box, then select App Manager and <Your Connect APP> and then Select Manage from the drop down.
- Scroll down to the “Profiles” section and select “ManageProfiles” then Selecting the appropriate profile checks which users have access to this application.

Step 3: Configure the Kong SAML Plugin.
Ensure you have the following details ready from Salesforce Connected App:
- Issuer
- Single Sign-On Service URL(IdP-Initiated Login URL) from SAML Login Information.
- Certificate (for signing and encryption)

curl --request POST \
  --url http://localhost:8001/services/httpbin/plugins \
  --header 'Content-Type: multipart/form-data' \
  --form name=saml \
  --form config.anonymous=anonymous \
  --form service.name=httpbin \
  --form config.issuer=< Issuer > \
  --form config.idp_sso_url=< IdP-Initiated Login URL > \
  --form config.assertion_consumer_path=/consume \
  --form config.session_secret=xxxxxxxxxxxxxxxxxxxxxxxxxxxxxxxx \
  --form config.validate_assertion_signature=false -H 'Kong-Admin-Token:password'
Test the SAML plugin:
- Using a browser, go to the URL (http://localhost:8000/demo)
- The browser is redirected to the Salesforce Sign in page. Enter the user credentials of a user configured in Salesforce.

3. If user credentials are valid, the browser will be redirected to https://httpbin.org/anything

4. If the user credentials are invalid, a 401 unauthorized HTTP status code is returned

Conclusion
Setting up Kong’s SAML Plugin with Salesforce as an Identity Provider provides a secure and seamless way to implement Single Sign-On for your APIs and services. This tutorial has walked you through the necessary steps to configure both Kong and Salesforce for SSO, enabling a more secure and user-friendly access control mechanism for your applications.
Remember to keep your configuration secure and regularly update certificates and configurations to ensure the ongoing integrity of your SSO setup. Happy authenticating!

